Wood Engraving Effects Guide
Visual guide to all 10 wood engraving settings. Find the perfect effect for your product photography.
How to Choose the Right Setting
The best setting depends on three factors:
- Wood colour – Light, medium, or dark wood
- Photography lighting – Warm, natural, or cool tones
- Desired intensity – Subtle, medium, or deep engrave look
Browse the examples below to find the setting that matches your product and photography style. Each image shows exactly what the effect looks like on real wood products.

Deep Engrave Look
Best for:
- • A large variety of woods and photos
- • Warm undertones
Visual result: A soft, subtle engrave that keeps fine detail without overpowering the wood.
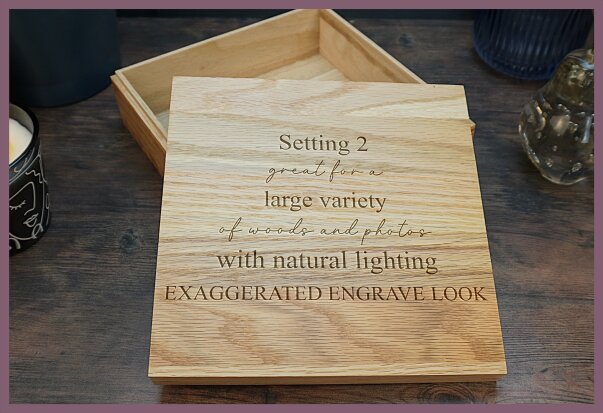
Exaggerated Engrave
Best for:
- • A large variety of woods and photos
- • Natural lighting
Visual result: Highly defined engraving with enhanced detail for a dramatic finish.
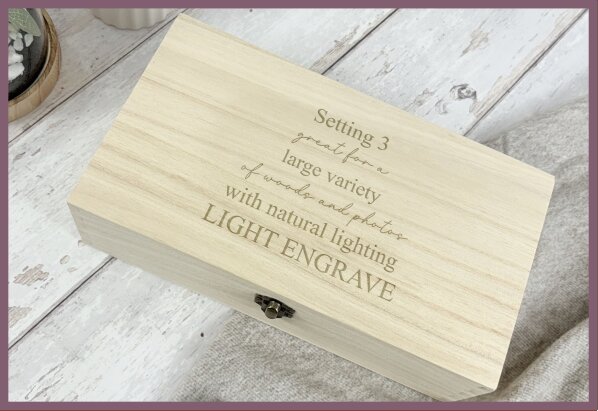
Light Engrave
Best for:
- • A large variety of woods and photos
- • Natural lighting
Visual result: A soft, subtle engrave that keeps fine detail without overpowering the wood.
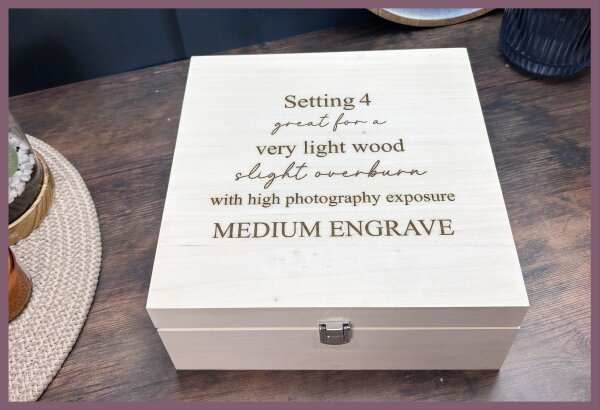
Medium Engrave (Very Light Wood)
Best for:
- • Very light wood
- • High photography exposure
Visual result: A controlled engrave with slight overburn to maintain visibility.
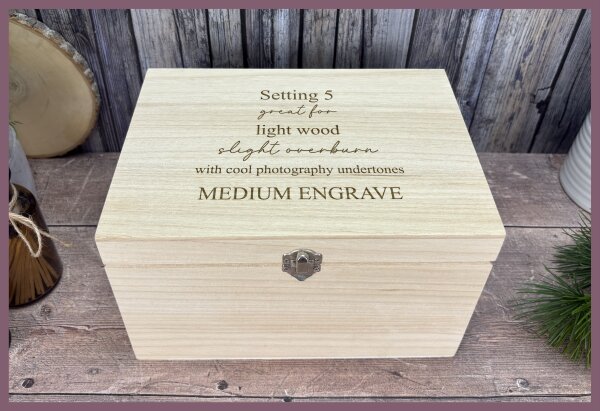
Medium Engrave (Light Wood)
Best for:
- • Light wood
- • Photos with cooler undertones
Visual result: Balanced medium engrave with gentle depth and even tone.
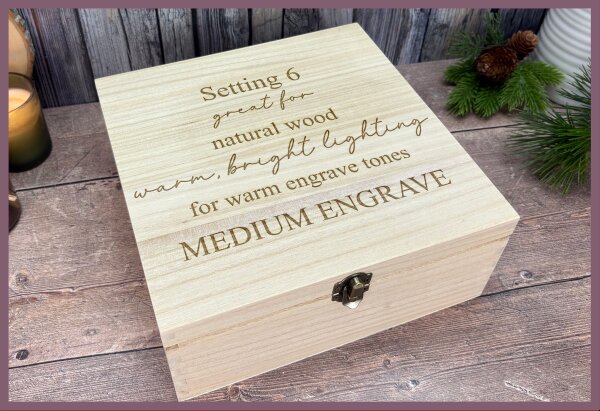
Medium Engrave (Warm Tones)
Best for:
- • Natural wood
- • Warm, bright lighting
Visual result: Warm engrave tones with a natural, inviting finish.
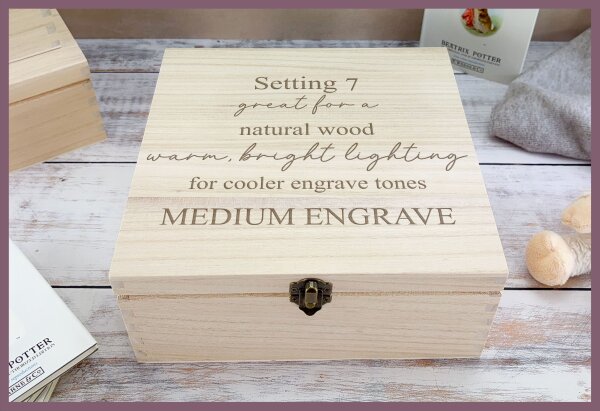
Medium Engrave (Cooler Tones)
Best for:
- • A large range of woods
- • Warm, bright lighting
Visual result: A clean, consistent engrave that balances cooler image tones.
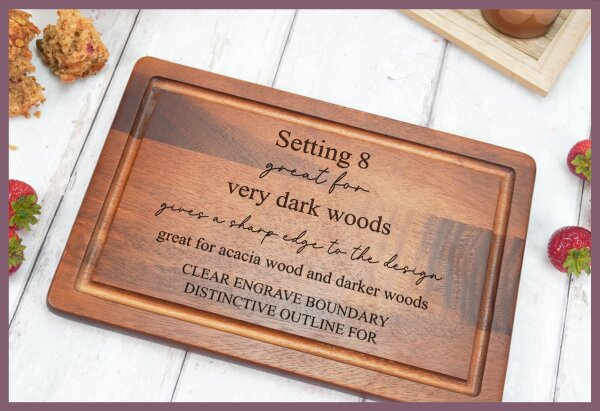
Distinctive Outline
Best for:
- • Very dark woods
- • Acacia wood and darker materials
Visual result: Sharp, crisp outlines with a clearly defined engrave boundary.
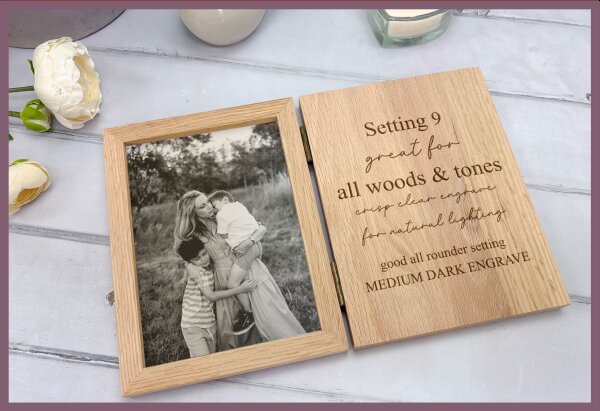 MOST VERSATILE
Deep Dark Engrave (All-Rounder)
Best for:
- • All woods and tones
- • Natural lighting
Visual result: A deep, dark engrave with crisp clarity. Our most versatile option.
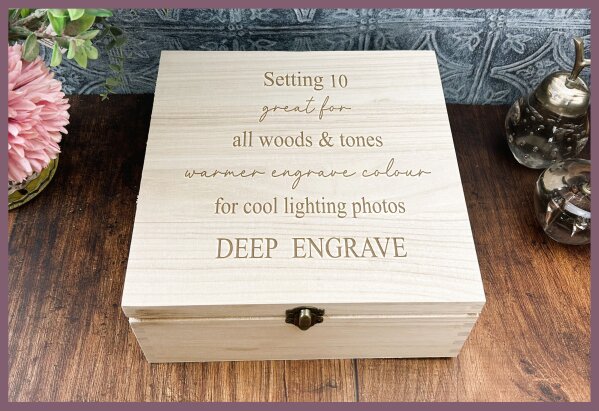
Deep Engrave (Cool Lighting)
Best for:
- • All woods and tones
- • Photos taken in cool lighting
Visual result: A deep engrave with a warmer colour tone to balance cooler photos.
Quick Reference
| Setting | Name | Best For | Intensity |
|---|---|---|---|
| 1 | Deep Engrave Look | Warm undertones | Deep |
| 2 | Exaggerated Engrave | Dramatic finish | Deep |
| 3 | Light Engrave | Subtle, fine detail | Light |
| 4 | Medium (Very Light Wood) | Very light wood, high exposure | Medium |
| 5 | Medium (Light Wood) | Light wood, cooler photos | Medium |
| 6 | Medium (Warm Tones) | Natural wood, warm lighting | Medium |
| 7 | Medium (Cooler Tones) | Balances cooler images | Medium |
| 8 | Distinctive Outline | Dark woods, acacia | Medium |
| 9 | Deep Dark (All-Rounder) | All woods & tones | Deep |
| 10 | Deep Engrave (Cool Lighting) | Cooler photo balance | Deep |
Tips for Choosing the Right Setting
Not sure where to start?
Run a small test batch with 2-3 different settings to compare. Process just one or two mockups with each setting to see which matches your actual product best.
Consider your photography
The lighting in your mockup photos affects how the engrave appears. Warm lighting pairs well with settings 1, 6, and 7. Cool lighting works better with settings 5 and 10.
Match the wood tone
Very light woods (pine, birch) often need settings 3, 4, or 5 to maintain visibility. Dark woods (walnut, acacia) work best with setting 8 for crisp definition.
Can't find the right setting? If none of the settings are quite getting the effect you need, email us at support@themockupfactory.com – we're happy to add any settings needed.
Other Engraving Substrates
The Mockup Factory also supports engraving effects for slate, glass, leather, and metal. Guides for these substrates are coming soon.